Task Roadmap
To begin, from the Dashboard menu go to “Campaigns” and then choose the submenu “Messaging”.
To create an Email campaign, follow these steps:
-
- Click “Add” button.
- Select Email Campaign.
- Towards the bottom of the page enter the name of your campaign.
- Click “Create”.
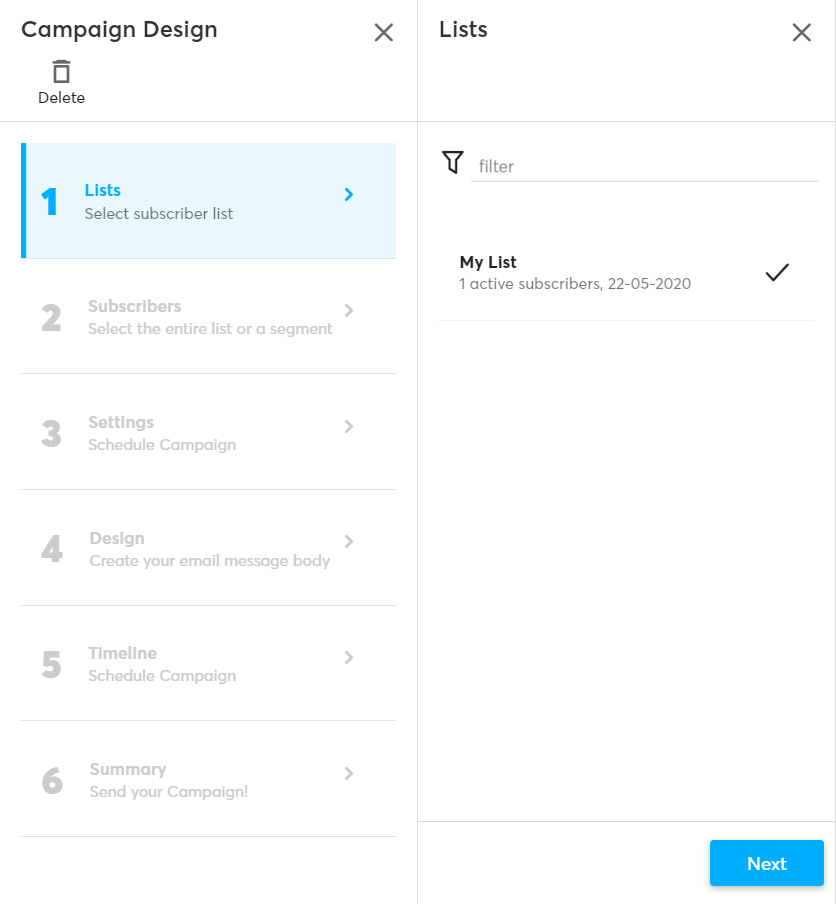
Lists
-
-
- Select the list for the campaign.
- Click “Next”.
-
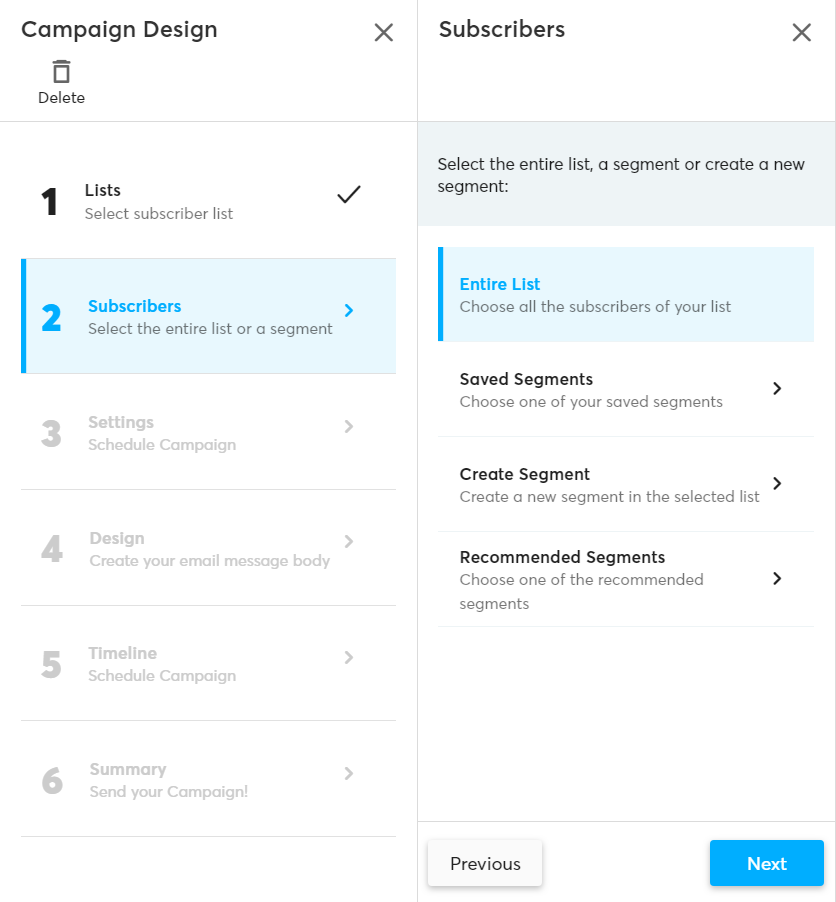
Subscribers
-
-
- You can select the entire list or a segment of it.
- Click “Next”.
-
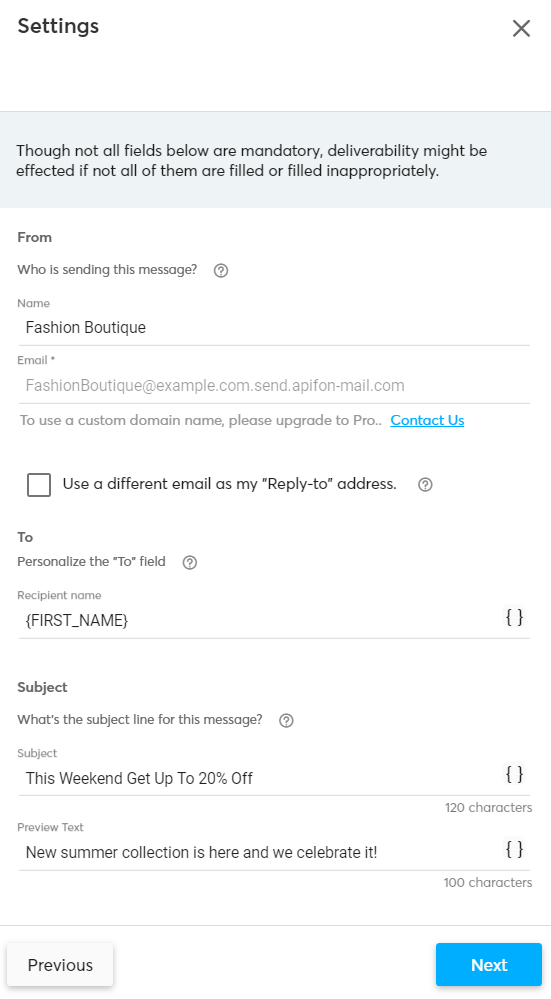
Settings
Fill in the following fields:
-
- From
In the name field, type the sender’s name. We suggest using something that your recipients will instantly recognize, for example, your company’s name. - Email
In the email, field type the email address that will be used to send your campaign.We recommend that your domain be verified before the first campaign. In general, domain verification proves that your corporation domain belongs to and protects your domain from malicious users who may have been trying to use the domain. It also protects your reputation and therefore fewer emails end up in spam. In addition, you can enable the “different email as your reply-to address” and receive replies to the given email address.
- To
In the recipient's name field, you can type something that you want to be displayed, for example, “Customer” or include content from any subscribers’ fields of your list.
Therefore, the message will be more personalized and will have fewer chances to result in the spam folder. - Subject
In the subject field type the subject line that will be displayed as the subject of your email. - Preview text
In the preview, text field type the text that will be displayed next to the email’s subject.
- From

Design
You can create a template by selecting:
-
-
- One of the ready-made email templates or you can create your own email template from scratch, using the Drag & Drop Builder.
- Code your own.
-
A. Select one of the ready-made email templates
Choose one of the ready-made email templates to begin with and select the button "Select". Otherwise, you can create your own email template from scratch, using the Drag & Drop Builder by dragging the elements you want into the email’s body, and then the elements you want inside each section.
If you want to add an extra element in your template, add a new section for each element you want and then place the element inside the section. The elements you can use to design an email are:
-
-
- Text: Add text blocks in your email.
- Image: Add images in your email. We recommend that the maximum image width not exceed 580px.
- Button: Add buttons in your email.
- Social: Add social media links.
- Custom code: Include custom code in your email.
- Section: Sections are components that you can use to include any other component inside them, and you can always arrange their position into the email template.
- Separator: Add a separate line between elements.
-
Moreover, you can preview your email as it’s going to appear on a mobile or desktop device. Just press the “Mobile” or “Desktop” device on the top of the builder’s window.
Last, ensure that you have included in your email the two obligatory links: the Unsubscribe link and the Open web version link. In case you forget them, a pop-up will appear to prompt you to insert them.
Select "Next".
B. Code your own
In the "Design" step when creating your Email campaign, select the "Code your own"» tab.
At this point, you have two options:
-
-
- Paste Code
- Import HTML
-
-
- Paste Code
To paste your code, follow the steps below:
-
-
- Click «Paste Code».
- Click «Next».
- Click «Text Area».
- Paste your HTML code.
- Click «Next».
-
-
-
-
- At this point the size of your code is being validated. The maximum allowed size is up to 500KB.
- When the size meets the criterion of 500KB, you can see the «HTML successfully validated» message, and you are able to click «Next».
-
-

-
- Import HTML
Το import a HTML code, follow the steps below:
- Import HTML
-
-
- Click «Import HTML».
- Click «Next».
- Drag your file into the light blue window or click on it and choose your file.
-
-
-
-
- At this point, the size of your code is being validated. The maximum allowed size is up to 500KB.
- When the size meets the criterion of 500KB, you can see the «HTML successfully validated» message, and you are able to click «Next».

-
-
C. Set Email Content
At this point, you can see your HTML code at the right side of your screen, and you can edit it clicking the «Edit Code» button.
Clicking {} Fields you can add your own special fields in the code, like First Name, Last name etc. according to what you have created in your list.

Once you are ready click «Next».
If you click Next and you have not included Unsubscribe URL link in your code, a notification will pop up. By choosing to Fix It, the link will automatically be added in the Footer of your code.

At this point, your code is being reviewed and if errors are identified, a notification will pop up, and you are able to choose one of the following options:
-
- Cancel
If you choose to Cancel you will be redirected to the Editor with your HTML code. - Fix & Review
By choosing this, correction of your mistakes will automatically be applied, and you will be redirected in the Editor where you will have to click «Next» to proceed. - Fix & Proceed
By choosing this, correction of your mistakes will automatically be applied, and you will be redirected in the timeline of your campaign.
- Cancel

Timeline
If you want to send your campaign instantly just select “Next, otherwise you can schedule to start a specific day/hour. Follow the next steps:
-
-
- Select the date when your campaign will start.
- Click and drag the "Campaign start" icon to your preferred time. You can also set your campaign’s expiration time in the same way.
- Click “Next”.
-
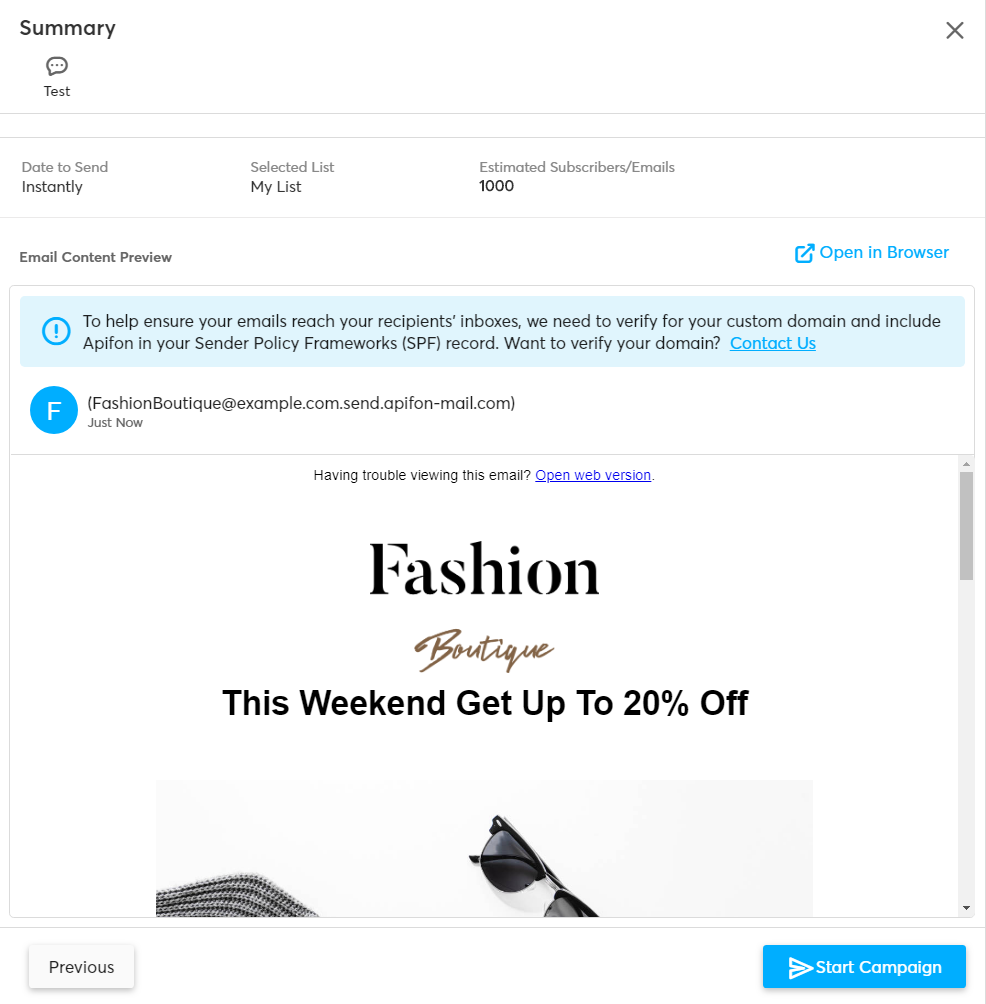
Summary
At this point, you can view a summary of your campaign and information such as:
-
-
- Campaign name: The campaign’s name.
- Date to Send: The date and time when the campaign will be sent.
- Selected List: The selected subscriber's list.
- Estimated Subscribers/Emails: The total amount of the estimated recipients/messages.
- Email Content Preview: A preview of the email that is about to be sent.
-
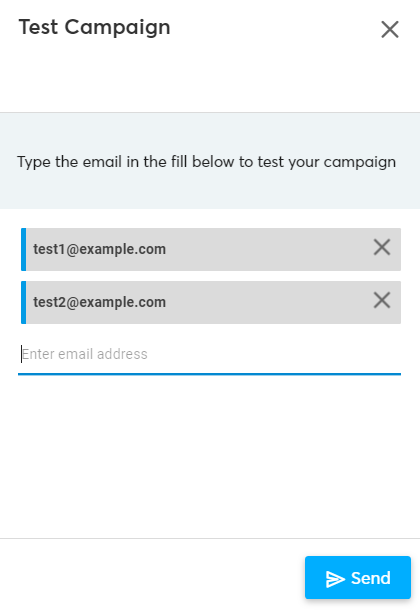
Test to your handset
Before you send the campaign, we suggest that you send a test email so that you can preview how it’s going to look like.
-
-
- Select “Test “.
- Enter one or more email addresses for the test.
- Press “Send”.
-
By Selecting “Start Campaign” or” Schedule Campaign” a confirmation message appears that informs you of the total amount of the messages you are about to send.
By choosing “Yes, Send It”, your campaign will be sent.
If you do not want the already completed campaigns to be displayed, you can archive them after selecting the campaign and selecting "Archive" in the Campaign Overview.
This way, all Archived Campaigns will no longer appear on the home page unless you choose to search by "Campaign Status".
Now you know how to create and send Email campaigns on the Apifon platform.
Thank you for reading!