The Apifon platform provides forms you can edit and share with your subscribers to expand your audience, update their preferences, and confirm their communication consent.
- Each list links to its own independent forms.
- You can share your list forms with personalized message campaigns, or copy the public URL of the Signup form.
- You can edit the design and content of the automated pages that appear after subscribers interact with the forms.
To access your Forms, follow the steps:
Subscribers > Lists > Your List > Forms > Forms Builder.
The available forms and pages are:
- Sign Up: Helps you gain new subscribers and collect more data for your list
- Update Profile: Allows subscribers to edit their personal data and communication preferences.
- Unsubscribe: Allows your subscribers to opt out of your list at any time.
- Existing Subscribers: Lets you manage the automated page flow after an existing subscriber clicks Submit on the Signup form.
- Double Opt-In: Lets you manage the automated page flow in case an additional signup confirmation step is active on your list.
Sign Up Form
The Signup form helps you gain new subscribers and collect more data for your list.
To view and edit this form, follow the steps: Forms > Forms Builder > Signup form.
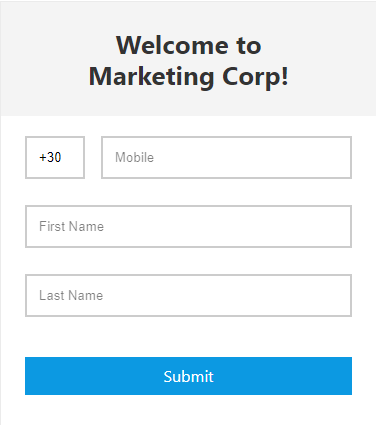
- You can edit the Signup page to determine the fields you require from subscribers to fill and edit the content and display settings.
- The Signup form is public, and you can share its URL anywhere.
- You can edit the Thank you Page that will automatically appear after a new subscriber clicks Submit on the form from Signup > Thank you Page.
- You can enable Double Opt-In to include an additional confirmation step and make sure the information your subscribers typed is correct.
Update Profile Form
The Update Profile form allows subscribers to edit their personal data and communication preferences.
To view and edit this form, follow the steps: Forms > Forms Builder > Update Profile form.
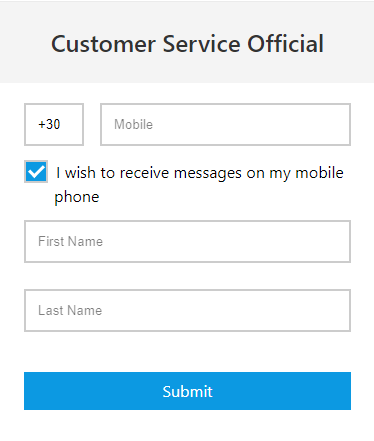
- The Update Profile form is linked to the Signup form. To change the active fields on both, edit the Signup settings.
- Subscribers can edit and add information on the form and check the I wish to receive messages box for each channel (Mobile/Email) they want to register as subscribed.
If they uncheck a box, they unsubscribe from this channel. - You can edit the Thank you Page that will automatically appear after a subscriber clicks Submit on the form from Update Profile > Thank you Page.
Unsubscribe Form
The Unsubscribe form allows your subscribers to opt out of your list at any time.To view and edit this form, follow the steps: Forms > Forms Builder > Unsubscribe form. 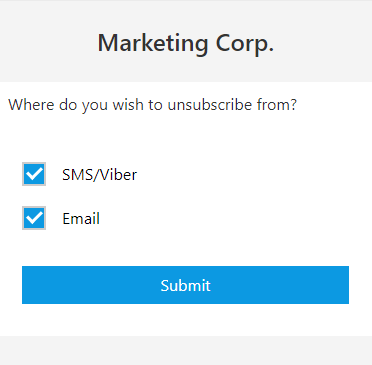
- The Unsubscribe form is personalized and shows only the channels (Mobile/Email) to which a subscriber has already subscribed.
- Subscribers can unsubscribe from any or all of the channels.
- This form URL is required in all Email campaigns and optional for Viber and SMS campaigns.
- You can edit the Thank you Page that will automatically appear after a subscriber clicks Submit on the form from Unsubscribe > Thank you Page.
- At the bottom of the Thank you Page, the subscriber can find a Re-subscribe link that redirects them to the Signup form.
Existing Subscribers
You can view and edit your Existing Subscribers page and message to manage the automated flow after an existing subscriber clicks Submit on the Signup form.
To access Existing Subscribers, follow the steps:
Forms > Forms Builder > Existing Subscribers.
-
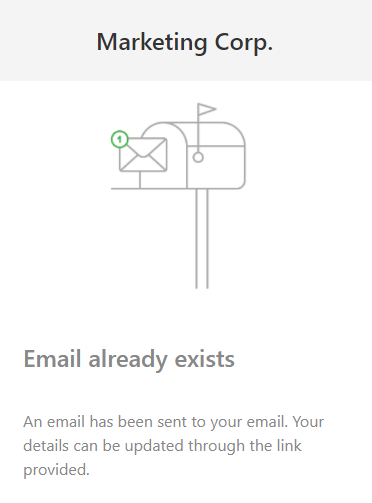
Email already registered page
The Existing Subscribers page will appear after an already existing subscriber clicks Submit on the Signup form.
To view and edit this page, follow the steps:
Forms > Forms Builder > Email already registered page.
-
Email already registered message
The Existing Subscribers message is an email sent to an existing subscriber after they click Submit on the Signup form.
To view and edit this message, follow the steps:
Forms > Forms Builder > Email already registered message.
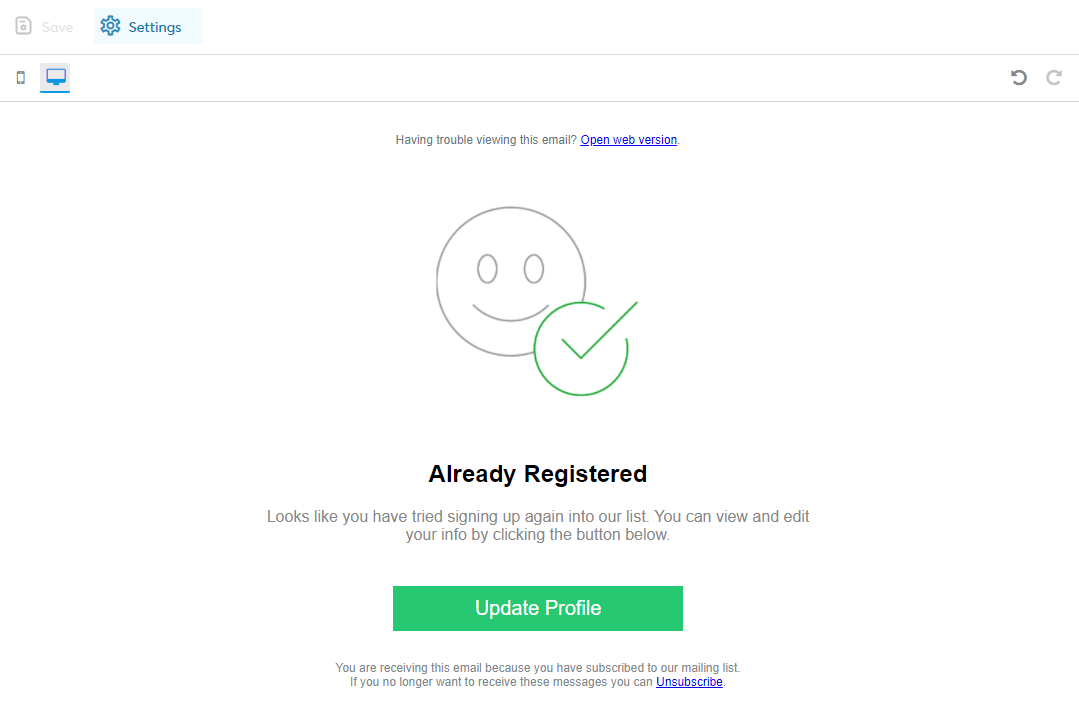
- You can edit the content and display settings (background, button color, etc.) from the Drag & Drop builder on the right.
- You can click on Settings to set up your Email. All fields are mandatory, except the Reply-to field.
- A contact subscribed only to Mobile will only be informed with an error on the platform about their subscribed status and will not receive an Existing Subscriber message.
Now you know how to manage your list forms on the Apifon platform. 🚀
Thank you for reading!