The Apifon platform allows you to integrate with CS-Cart API to synchronize and import your e-commerce audience and initiate onsite tracking to monitor updates in real-time.
To initiate the onsite tracking service, you need a Google Analytics account and a Google Tag Manager (GTM) configuration established for the CS-Cart site.
Set Up a CS-Cart Integration
To set up a CS-Cart integration, follow the steps below:
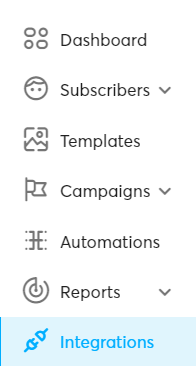
- Click on Integrations, on the menu on the left.
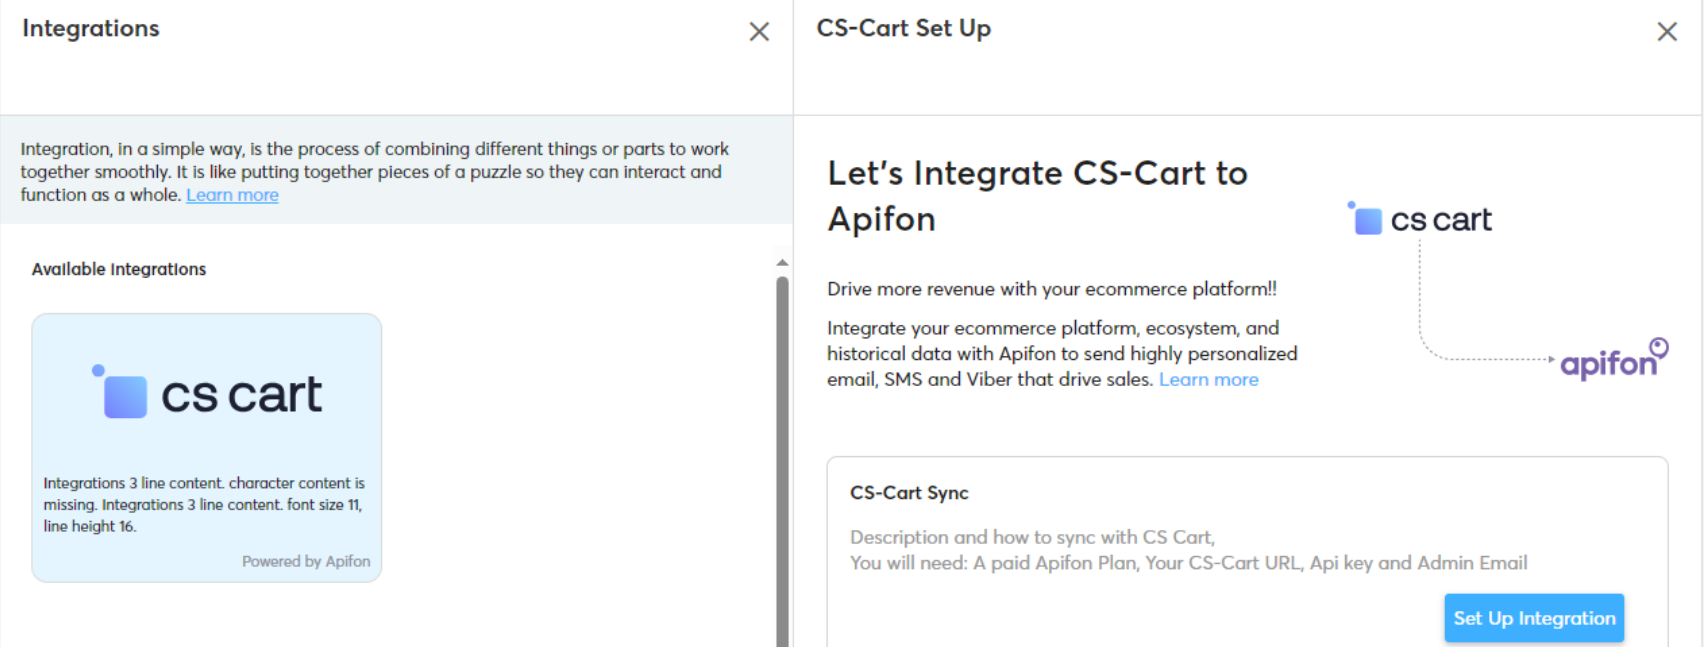
- Click on the CS-Cart card.
- Click Set Up Integration.
- Type a List Name. This list will be automatically created after the Integration is set up and it will include your CS-Cart audience.
- Fill out the CS-Cart Settings:
CS-Cart URL: Provide the FQDN (fully qualified domain name) of the CS-Cart instance that will be integrated with the Apifon platform using the format: http(s)://{FQDN}).
CS-Cart API key: Provide a valid API key. This key can be generated in the profile of the CS-Cart admin user. In the admin profile page, the user can find two tabs, General and API access. In the tab API access the user can easily generate an API key and use it in the set-up of the CS-Cart configuration in Mookie.
When a new API key is generated, any previously generated API key is rendered invalid and any configuration that is set-up using the previous key in another account will be considered "Failed".
CS-Cart Admin Email: Provide the email address of the CS-Cart admin user.
- Click Test Connection so the platform can verify the configuration settings before proceeding to the next step.
If the test connection fails, it means there is an error in the configuration settings you entered, and you need to check them again and retry.
If the test connection is successful, you can proceed with completing the configuration.
- Click Save.
- Click Start Synchronization.
A bar will appear to show the progress of the synchronization, and your Integration will be in status Syncing.
When the synchronization is complete, the status will change to Enabled.
Onsite tracking
Onsite tracking involves the collection and analysis of subscriber behavior and interactions within integrated e-commerce.
It allows your business to monitor and understand how visitors navigate, engage, and convert on their e-commerce, providing valuable insights for optimization and personalized user experiences.
To enable onsite tracking, follow the steps below:
- Once the Integration is enabled, download the Onsite Tracking file so you can start monitoring your audience's behavior.

- Insert the Onsite tracking file in Google Analytics, using the Google Tag Manager add-on application to enable the tracking mechanism.
You can remove your Integration at any time. To ensure your onsite tracking will also be disabled, remember to delete the file you imported in Google Analytics as well.
Completing the Integration
When a CS-Cart Integration is enabled, a new list will be created and the synchronization will begin with the data import.
All new subscribers will be subscribed to receive email and mobile communications, as long as they have provided their email and/or mobile in the CS-Cart.
The integrated list will continue to be updated through the onsite tracking service, matching changes in the CS-Cart audience (new subscribers or updated subscriber information).
- You cannot update the list name and the CS-Cart FQDN. If you wish to change them, you should remove the existing Integration and create a new one in its place.
-
If you choose to remove the integration, all of its settings will be permanently deleted.
- You cannot edit the integration settings while the integration is in status Syncing.
- If any of the configuration details are altered, then a test connection is required again.
Historical data synchronization
Once the integration is completed apart from the CS-Cart audience data that are synchronized with the list, the historical data regarding the orders made in the CS-Cart are also retrieved.
More specifically, for every order, the following information is retrieved:
- Order Id: Identifier of the order in CS-Cart
- Order date/time: Date time an order was created.
- Order status: Status of the order in CS-Cart
- Order total: Total amount of the purchased items
- Customer ID: Identifier of the customer that placed the order in CS-Cart
- Customer Email: Email of the customer that placed the order in CS-Cart
Synchronizing historical order data is crucial for enhancing segmentation capabilities, enabling the creation of insightful prebuilt e-commerce segments.
Synchronizing historical order data is crucial for generating the e-commerce metrics displayed in the list overview.
Periodical data resynchronization
The integration process for CS-Cart data synchronization provides you with more timely information.
You have the option to resynchronize the list with the updated CS-Cart data on demand to ensure the latest information is available in mookee. The Resync option is enabled in the integration section under the following circumstances:
- After the initial synchronization is complete and the data is retrieved, this option enables you to retrieve the latest data ad hoc. It's useful in cases where changes are made in CS-Cart that might not be monitored by the onsite tracking system.
- If the integration fails due to an error (status: Failed). This option allows the user to manually retry the synchronization in case something goes wrong temporarily.
An automatic periodical resynchronization will occur every hour. This ensures that all the latest CS-Cart information, including subscriber details and order data, is consistently up to date. The automatic periodical resynchronization is particularly valuable for order data, allowing you to track updates in order status that it is impossible to trace through the onsite tracking mechanism.

The Re-Sync option is not available while the integration status is either Syncing, because a sync is already in progress, or Disabled, because the feature is not currently available.
Both the resynchronization on user demand and the automatic periodical resynchronization will update subscriber and order data, ensuring that lists and segments are always current and accurate.
Now you know how to set up a CS-Cart Integration on the Apifon platform. 🚀
Thank you for reading!