To access your account information and settings, click on your Account Name on the blue bar at the top, and then Account > Account Settings.
Here, you can view and edit the information below:
 Account Details
Follow the steps Account Name > Account > Account Settings > Account Details.
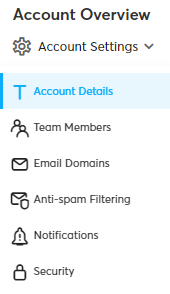
Here, you can review and edit the below information:
- Company Name: The official name of your company.
- Preferable Name: Α friendly name you may prefer to use. It can be the same or different from the Company Name.
- Signup Email: The first email you used to sign up helps to identify your account on the platform. In case you no longer have access to it, you can contact our Customer Services team at ace@apifon.com to update it.
- URL Branding: This enables you to set your brand name in the Form and Landing Pages URLs.
Don't forget to click Save after each edit!
 Team Members
Follow the steps Account Name > Account > Account Settings > Team Members.

Here, you can view, add, edit, and delete your account users (Team Members).
Add a Team Member
To add a new team member, click the ![]() Add button, fill in the new team member's information, and click Invite.
Add button, fill in the new team member's information, and click Invite.
Your new team member will receive an invitation email and their status on the platform will appear as Pending.
To accept the invitation, the new member must:
- Set up their password via the invitation email.
- Log in to the Apifon platform.
- Verify their mobile number, from Account Name > Account > Profile.
When the invitation is accepted, the status will no longer appear as Pending.
- Each invitation email is valid for 48 hours. After it expires, you can click on the team member, and select Re-invite to send a new, valid email invitation.
- You can click on a pending team member and select Revoke Invitation to delete the member from the account and expire their invitation URL.
- Each email address can only be used once on the Apifon platform.
- To add multiple roles per account and manage User Roles & Permissions, you need to have a paid plan, either Pro or Basic.
For more information regarding a paid plan, feel free to contact Sales at sales@apifon.com.
 Email Domains
Follow the steps Account Name > Account > Account Settings > Email Domains.
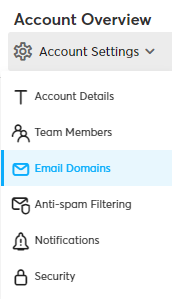
Here, you can perform Email Verification & Domain Authentication to reduce the chances of your emails ending up in Junk/SPAM folders, and remove the default Apifon suffix at the end of your sender email ("From") email.
 Anti-spam Filtering
Follow the steps Account Name > Account > Account Settings > Anti-spam Filtering.

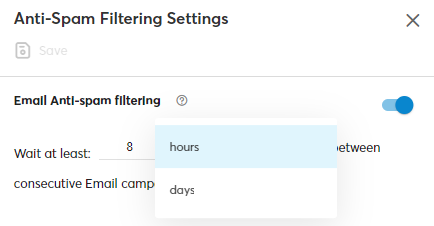
Here, you can activate the Anti-Spam Filter⚠️ to set the minimum time that should elapse between messages to the same subscriber.
To activate and edit the filter, follow the steps below:
- Switch the enable toggle on the channel you want to apply the filter (Email/Viber/SMS).
- Type the number and the time measurement (hours/days).
- Click Save.
 Notifications
Follow the steps Account Name > Account > Account Settings > Notifications.

Here, you can manage the notifications you wish to receive regarding your remaining balance on the platform.
By default, you will receive a notification when your account balance drops below 20%.
If needed, you can set an additional custom threshold to receive alerts based on your specific needs.
To do so:
-
Enable the toggle to activate the custom threshold.
-
Enter the Balance Limit — specify the amount (e.g., €50) at which you’d like to receive a notification.
-
Click Save to apply your settings.

An email notification will be sent to the designated address when your balance falls below the specified limit.
You can update the notification email addresses at any time in your Billing Info section.
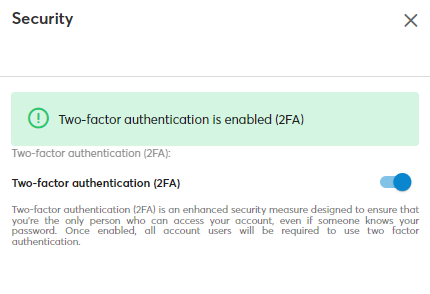
 Security
Follow the steps Account Name > Account > Account Settings > Security.
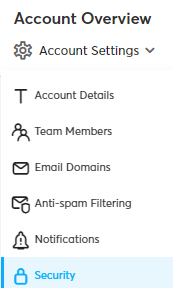
Here, you can enable or disable the Two Factor Authentication (2FA) function.
If you enable the 2FA function, all your account users will only have access to the platform after they fill in a One Time Password (OTP) they will receive on their mobile phones. This adds a higher level of security to access your account.
You may enable the 2FA function for a specific user by logging in via this user and following the steps Account Name > Profile > Security.
Now you know how to set up your account in the Apifon platform. 🚀
Thank you for reading!